Solid Comments In Static Website
TL;DR: I added comments to my static website. Here’s how I did it - including some technical details. I researched amongst different possible solutions for the most solid one, integrated it for all posts and added a counter of the number of comments in the post overview page.
2025-05-23 Update Since I moved from Jekyll to Pelican, I updated some details.
Selecting a solution
As i planned to play around with the new Deep Research Model from OpenAI I gave it a spin with this topic: feel free to read here. Overall the research was helpful and I ended up using Giscus for the comments. Partly because it felt the most robust and reliable, partly because I had really bad expoerience with disqus some years ago.
The choice was based on the set of criteria I gave to the model. Here are the most important ones:
- No self-hosted server – I don’t want to manage (and pay 😉) a server.
- Data portability – the comments can exported.
- Privacy-friendly – no extra trackers or ads beyond what I already use (e.g. Google Analytics).
- Markdown support – allow rich formatting (code blocks, etc.) suited for technical discussions.
- Spam protection – has measures to reduce spam, especially if allowing anonymous or unauthenticated comments.
The tools that Deep Research analyzed were
- Giscus
- Utterances
- Staticman
- Commento
- Hyvor Talk
- Disqus
- Some self made solutions
Integrating Giscus
In the follow up to it’s research I asked the model to give me a step by step guide on how to integrate the solution. This was far less reliable than the first research, but still helpful.
Here is the executive summary (the details are in the chat I had with the AI):
- Step 1: Enable GitHub Discussions for Your Repository. That means the repo into which the static site is generated (which sometimes is not the same as the source).
- Go to your GitHub repository
- Navigate to Settings > General.
- Scroll down to the Discussions section and enable it.
- Step in between, that the AI missed to mention: Install giscus for all or some of your repos. Here
- Step 2: Install Giscus and Configure It
- Visit the Giscus setup page: https://giscus.app/.
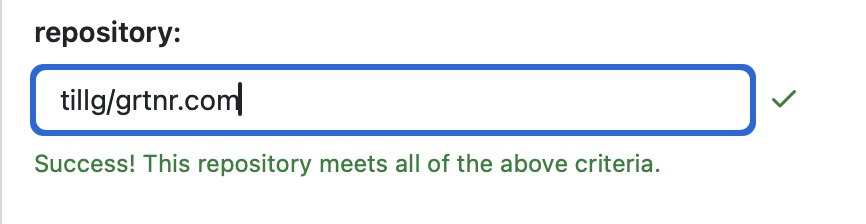
- Under “Repository”, enter your repo name. You now should see the green check mark that your repo meets all the criteria for using giscus.
- The “Page discussion mapping” option dictates a relationship between your pages, e.g an article, and a GitHub discussion. I selected, the pathname
- For the discussions category I selected “general”. Set the Theme to “Match OS” or manually define light and dark mode. Click “Copy Code” once you’ve generated the